
The Wonderwall module takes two templates. The Wonderwall template shows the wall. The Wonderwall Form template is the page where staff write a thank you. You can call the wall whatever suits your organisation, such as “Hall of Fame” or “Kudos”, and the name is used everywhere.
Switch on the Wonderwall module
Go to Options, then Modules, and tick Wonderwall. This adds Wall entries to the admin menu, the two page templates, the widget, and a Wonderwall tab of settings on the same screen. Only administrators can see the Options screens.
Create the wall page and the form page
- Add a page, such as “Wonderwall”, and choose the Wonderwall template under Page Attributes. Anything you type in the editor appears as an introduction under the page title.
- Add a second page, such as “Say thank you”, and choose the Wonderwall Form template. Its editor content appears above the form.
- Go to Options, Modules, then the Wonderwall tab, and pick the first page as the Wonderwall page and the second as the Add to Wall page. The wall page needs this to show its button, and the form needs it to return people to the wall afterwards.
- Add the wall page to a menu. See Setup navigation menus.
Wonderwall settings
All on the Wonderwall tab of the Modules screen.
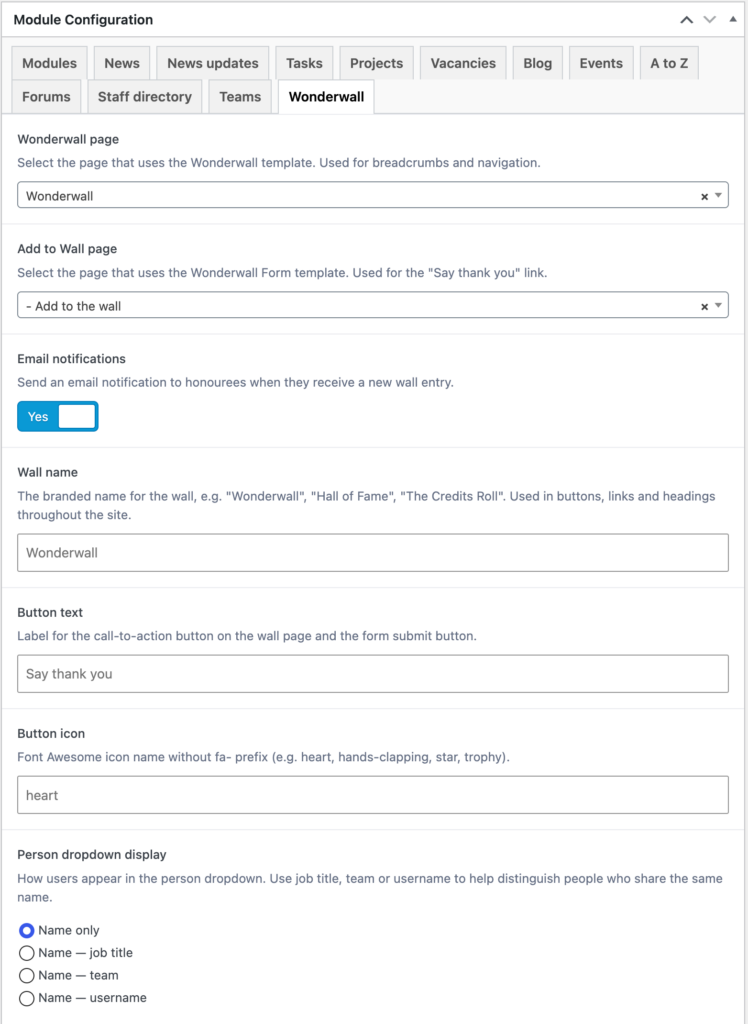
Wonderwall page and Add to Wall page
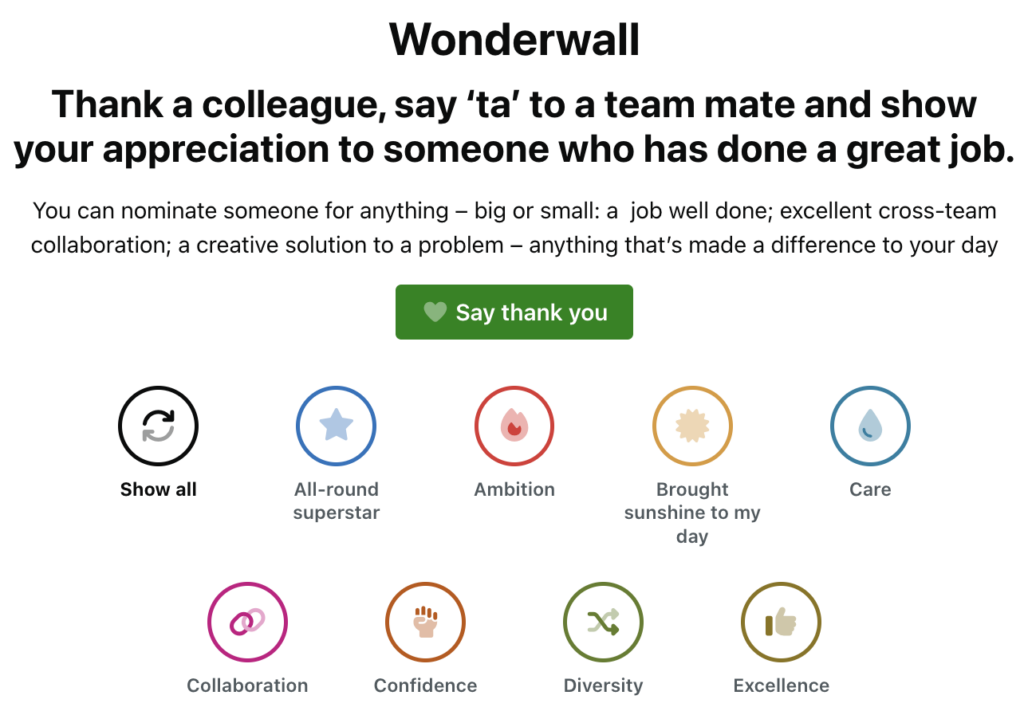
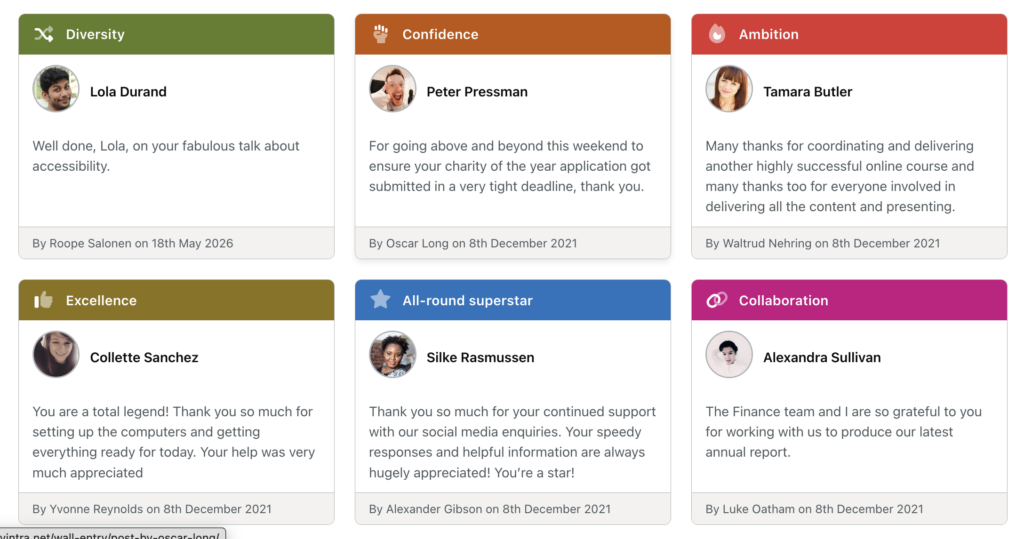
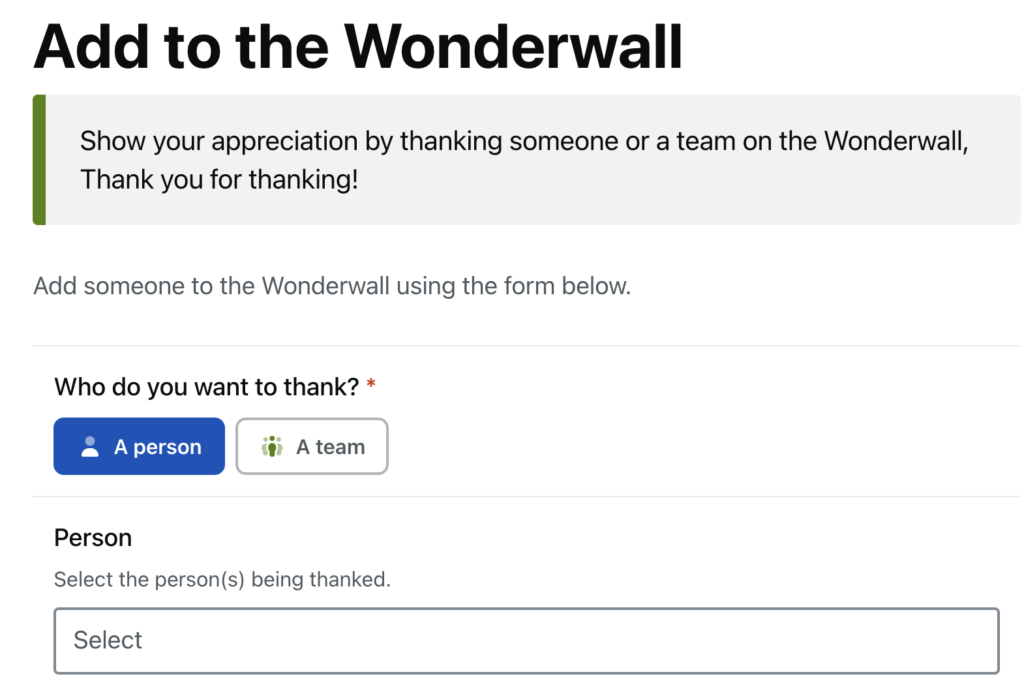
The two pages described above. The wall page is used for breadcrumbs, the “Back to the wall” links and the “Visit the wall” link in the widget. The form page is where the “Say thank you” button goes.
Email notifications
On by default. When someone is thanked, each person named gets an email with a link to the entry. When a team is thanked, the email goes to the team’s leaders, as set on the team page, not to every member. The subject line is “Someone has thanked you on the [site name] [wall name]!”. Switch it off to add entries silently.
Wall name
The name of the wall, used in headings, buttons, links, the widget’s name and the emails. Blank means “Wonderwall”.
Button text
The label on the button that opens the form, and on the form’s submit button. Blank means “Say thank you”.
Button icon
The Font Awesome icon shown on that button, given as the icon name without the “fa-” prefix, such as heart, hands-clapping, star or trophy. Blank means the heart. The same icon appears on the button that opens a person’s entries on their profile.
Person dropdown display
How people are listed in the “Who do you want to thank?” box on the form: Name only (the default), Name and job title, Name and team, or Name and username. Choose one of the fuller options on a large intranet where several people share a name.
Set up award categories
Every thank you carries one award category, which gives its card a colour and an icon and lets people filter the wall. Go to Wall entries, then Award categories. Only administrators can add or change them. Each category has:
- Name, such as “Above and beyond”, “Team player” or “Made my day”.
- Description, shown as a tooltip on the wall’s filter button. Leave it blank and the name is used.
- Colour: the background colour of the badge on cards and the colour of the filter button. Near-black if left blank.
- Icon: a Font Awesome icon name without the “fa-” prefix, such as
star,sun,heartorbolt. A star if left blank. - Icon style: leave on Theme default to follow the site-wide link icon style, or pick a style for this category only. A style other than Solid must be switched on under Options, General first. See General intranet options.
Add the categories before you launch the wall. The form will not submit without one, and a wall with no categories shows no filter row.
Upgrading from the old honours plugin
On an intranet upgraded from the previous version of the theme that used the honours plugin, WordPress shows a notice that honour records are waiting, with a link to Tools, Migrate Wonderwall. Run it before switching the module on. It converts each honour into a wall entry, keeping multiple people on one entry.
Related
- Available templates: every page template in the theme.
- Module settings and options: switching modules on and off.
- Add terms to taxonomies: award categories alongside the theme’s other lists.
- Set up the staff directory: the wall relies on staff profiles and teams.