You create tables outside of the pages that they appear in.
Copy table code
Browse to the page that you want to copy the table from. Right-click and View source. You’ll need to find the <table> and </table> and copy from the start to the end of the codes.

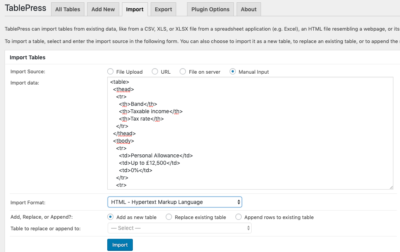
Paste into TablePress
In WordPress, use TablePress, Import. On the next screen, choose Manual Input and then paste the code into the Import data field. Choose HTML from the Import Format menu. Then click the Import button.
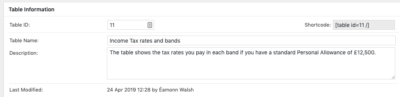
Name the table
When imported, enter a name for the table – this is what will be used as the caption for accessibility. It will not appear visibly on screen but will be read out by screenreaders. You may also enter a description that you can make visible in later options.
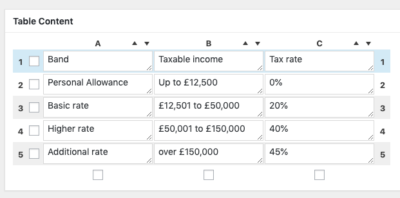
Edit and format cells
The imported table will display in a grid format with editable cells. Any HTML formatting will remain in the cells such as bold tags or bullet points. You can make changes to cell content and add or change rows and columns by selecting row and column checkboxes and using the table manipulation options.
Set table options
Use the Table Options panel to style the table and make sure to tick the Table Head Row checkbox if there is a header to the table. If you want to include a description that you entered earlier, check the table description checkbox and specify above or below the table.
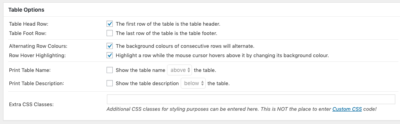
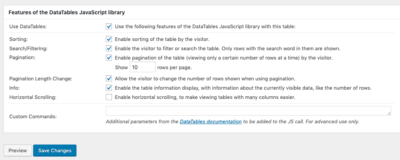
Advanced options
Advanced options are available to allow sorting of columns, filtering, searching, pagination. Unless absolutely required, leave the Use DataTables checkbox for this panel unchecked.
When finished click Save changes button.
Then follow the manual to insert a table into a page